CDD is the process of verifying your client’s identity, which includes saving supporting documents such as a passport, proof of address and proof of income.
The CDD process typically involves two steps. However, if the client work involves;
- a non-captured activity or,
- you are using a third-party AML provider.
You may skip Step 2 and complete only Step 1.
Step 1 – Set the Client CDD Level
Setting the CDD level can be completed using the Client Maintenance app. It is important to complete the CRA first, as this determines whether Standard Due Diligence (CDD) or Enhanced Due Diligence (EDD) is required.
Open the Client Maintenance program. The CRA process should already be completed, and the CDD will be set to a default value based on the CRA results. You can adjust this setting if necessary.
For non-captured type clients, where the CRA is set to Exempt, set the CDD level to None, then save and exit the application. The client will now be ready for approval by the AML Compliance Manager.
If you are using a 3rd Party AML provider, set the CDD level to External, then save and exit the application. The client will now be ready for approval by the AML Compliance Manager.
Note: If the CRA is set to High, you must have the CDD level set to Enhanced.

Step 2 – Completing CDD for Identities
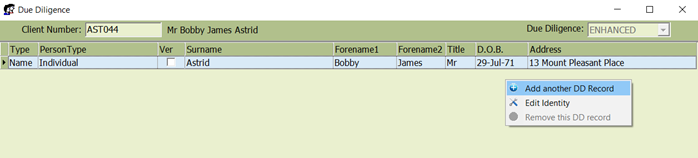
To open the CDD selection screen, right-click and select the Due Diligence option. The identities of the individuals or entities associated with the client will be displayed.
For individual clients, there is typically only one Name Type record, and you should record personal identification details (e.g., passport, driver’s license) and physical address information (e.g., utility bill).
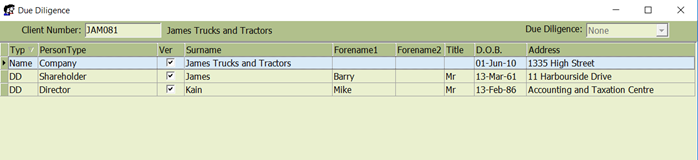
Other client types, such as joint clients, companies, partnerships, and trusts, will have multiple identity records. For instance, a company client will include the company itself as a Name Type Identity and additional records, such as directors, shareholders, or accountants, as DD Type Identities.
For a company, partnership, trust client, you should record the identity’s verification information (e.g. for a company client, something like the Certificate of Incorporation would be required.)
For each DD Type identity, you should record personal identification details (e.g., passport, driver’s license) and physical address information (e.g., utility bill).
To view or edit identification information for an identity, double-click the desired record or right-click and select Edit from the menu. This opens the Identity Maintenance app, where you can update the information under the verification section.
To add a new DD Type record, right-click and select Add Another DD Record.
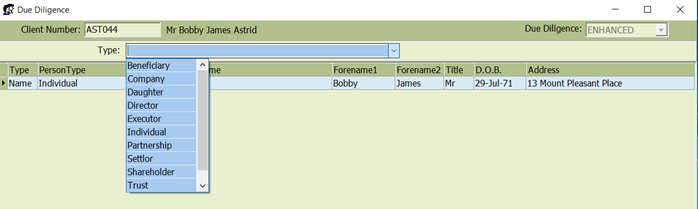
Enter a label to describe the DD relationship you are creating. Use the dropdown menu to select an existing relationship type or manually enter a label (e.g., Director, Trustee), then press Tab to continue.
The Identity Selection screen will appear. If the identity you are adding already exists in your database, select it. If it does not exist, click New Identity to create a new identity record.
After selecting or creating the identity, you can add complete details for the DD identity, including ID verification information.
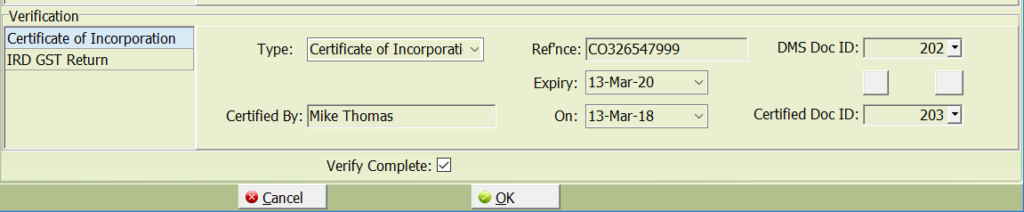
Once you have finished entering the ID information, check the Verify Complete box to confirm that identification has been fully completed.
The client is now ready for Compliance Officer approval via the AML Manager.