Precedents are a set of documents that are commonly sent when dealing with client matters.
Traditionally these are held on a network drive and as a task is being done for a matter, the master copy (or a last remembered similar type document ) is opened and whatever details needing it are changed to create a new document for the matter being worked on.
LegalOffice allows you to keep a copy of this document inside the Legal Office precedent system and whenever you want to create a document for a task, use this precedent and automatically swap out variable information to those relevant to this particular Client / Matter.
These documents can be:
- Used either as a Word document or Outlook email.
- Have formatting such as Font, tables, Bullet Points, numbering, images etc.
- New precedents can be set up by the firm or you can have your LegalOffice support person do it for you.
- Created directly in the LegalOffice precedent system using our Rich Text app editor.
- LegalOffice itself uses this type of pre-defined precedents to generate documents or emails such as when Trust Statement or Billing Email or Account Rendered Notices facility is run,
Setting up a new precedent
Use the Rich Text Codes app to create or modify precedents.
On the List tab right click on any line and click the “New” menu option.
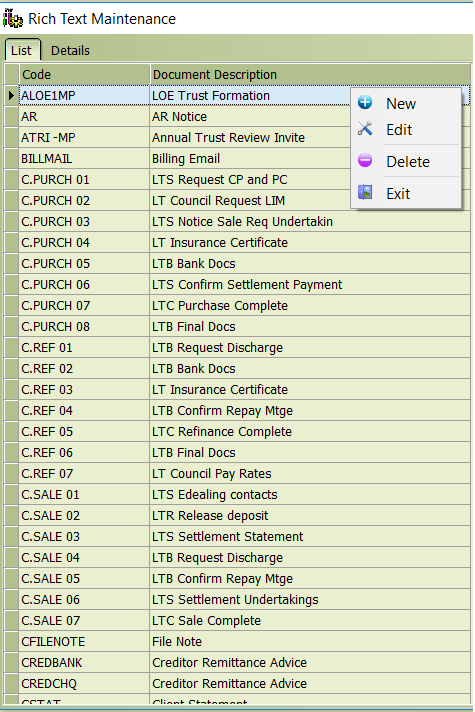
This will bring up a blank Details tab as follows
The header section is used to define the characteristics and behaviour of the precedent document.

Rich Text Code : This code is used to identify the precedent document and is displayed on the appropriate precedent menu list.
Description : This is a label to describe the precedent and is displayed on the appropriate precedent menu list.
Document Name : The created document will be saved with this name. Swap out variables can be included. .
If the document name is empty the document will not be saved automatically and the document will be opened and visible in Word.
If the document name is not empty the document will be saved to the defined ‘Save location’ and the document will be opened and visible in Word
Save Location : The save location allows users to define a fixed location in which the document is saved. DMS users should always use the DMSWatch folder and you can use either the locations full path or the variables <dms>.
If the save location is empty the document will be saved to the save location defined in the system control file.
If the save location is empty and the Control file Base document path is empty then the document will save to the users current windows location.
Word Template : Add the path to any Microsoft Word .docx or .doc file from which the precedent will take its characteristics e.g. margins, paper type, header and footer information.
Document Type : This field is used to determine whether precedent document is added as a record in the Records System. Use the drop down menu to select the appropriate label e.g. Will, Deed of Trust etc.
Printer Code : Use this field to automatically print the precedent to a predetermined printer. Available printers are held in the Printer Maintenance program and are based upon the users available Windows printers.
Use : This field determines the precedent menu from which the precedent can be called. Available options are;
| C | Client |
| M | Matter |
| R | Mortgagor and/or Mortgagee |
| N | Mortgage Investor (single) to-from dates for trans |
| E | Email Template |
| I | IBD investments |
| A | Billing |
| T | Transaction |
| (blank) | AR Notices |
| L | Lawtype |
Auto Print : Select this tick box for precedent document to be created and printed immediately. Word will not open or display the document. The document will be also be saved if the document has a Save location set. If no printer has been defined in the printer code field, the document will print on the users default Windows printer.
View Metadata : Select this tick box and the DMS Metadata screen will display when the precedent document is created. This allows the user to change metadata from the default values being provided e.g. document name.
Store : Add the DMS Metadata store the precedent document should be saved with. Stores provide the ability to filter, sort or group documents e.g. Accounts, Billing, Key Documents etc.
Document Type : Add the DMS Metadata document label the precedent should be saved with. This is used to identify a document t type e.g. Letter, Statement, Email etc.
Richtext Body
The body section holds the content of the precedent document. Simple text can be added directly into the body section or, created in a Word document and then cut & pasted into the body section.
In addition, there is an extended editor providing formatting options similar to Word. Right click on the RT body and select ‘Rich text Editor’ to use this feature.
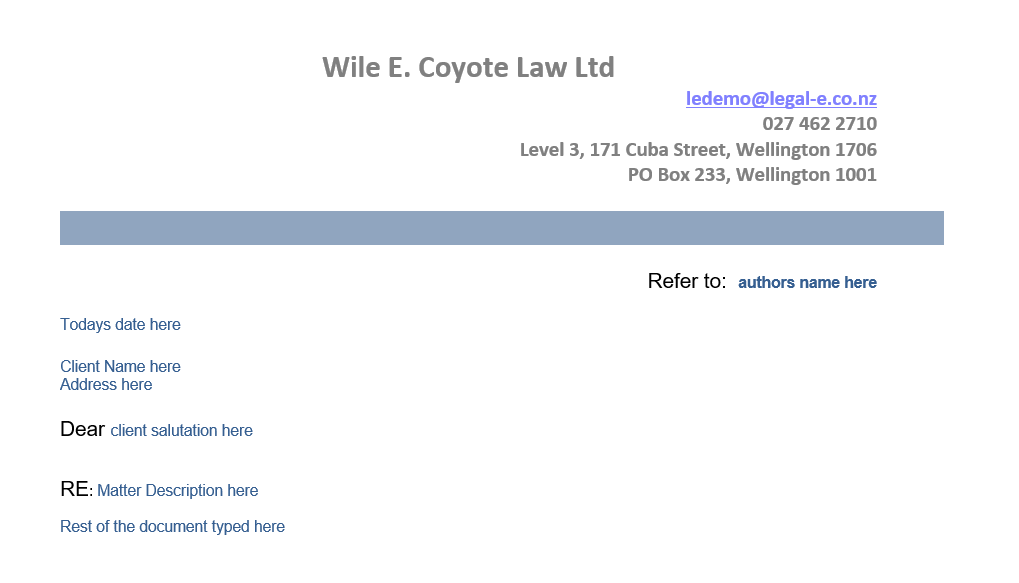
As an example, let’s assume we want to create a letter precedent like this;
On the details header tab we could enter

Then right click on the blank blue screen and select Rich Text Editor (or just double click)
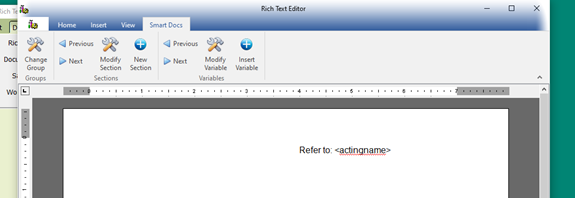
This will bring up the Rich Text editor facility as shown
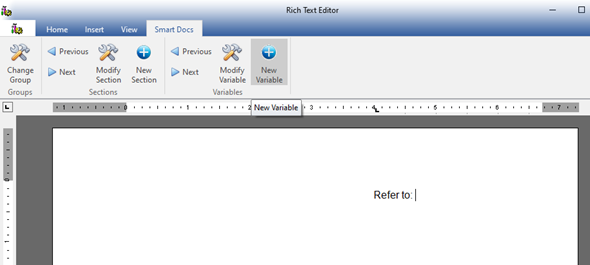
Position the “Refer To:” text then select the Smart Docs tab and click the new Variable button. This will bring up the Smart Inputs screen.
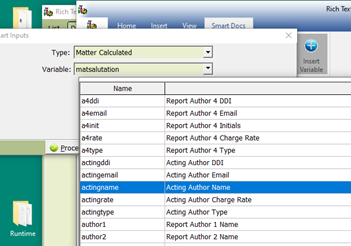
From the Type Drop Down select Matter Calculated.
Then from the Variable Drop Down select the Acting Author Name field and click the Proceed button giving;
Now position the cursor after the new variable and press the Enter key to position the cursor where you want the date printed.
Click new variable and this time select a Variable type of System Calculated and the Variable ‘today’.
Position to Client Name and add a Client Calculated variable ‘FullName’.
Then add the ‘Dear ‘ and a Client Table variable ‘Salutation’ and the RE with a Matter Table variable ‘MatterTitle’. Then add a couple of blank lines to get to where the body of the letter would begin.
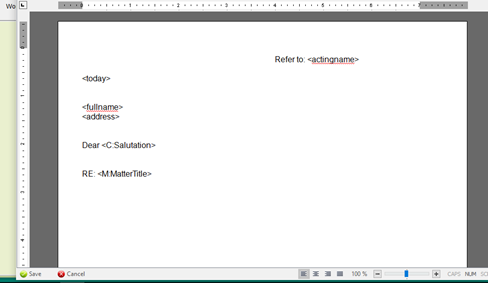
Press the Save Button.
This will return you to the details tab with the new document details shown.
Right click on the document area and press ok.
The new precedent is now available for use.
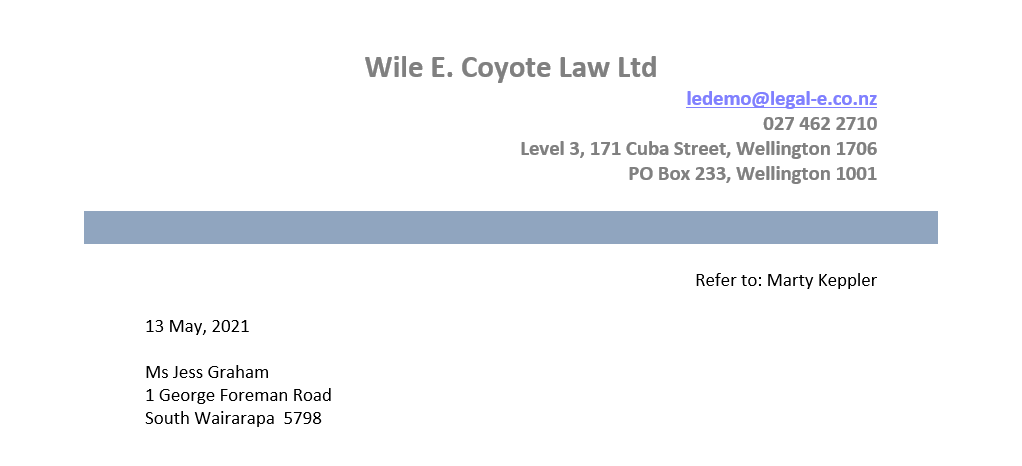
Matter Precedents can be run from several places in the system such as MyMatters and Inquiry. Use the Right Click menu option Matter Precedent’ and select the appropriate precedent code. The following word document would be created ready to continue typing the rest of the letter.
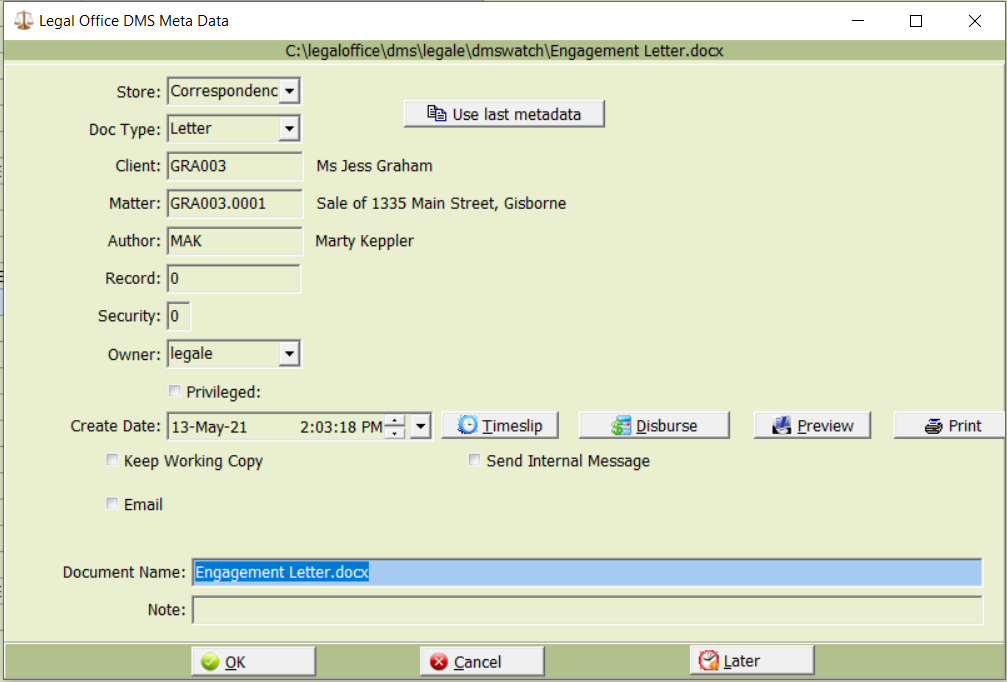
Once the document is complete, save and close the document in Word and the DMS Metadata screen will display. You can now give the document a relevant name before pressing OK to commit the document.
That is it! You have created a precedent document which is available to all users in the firm.