Workspace is an intuitive, user-friendly program that gives you seamless access to your firm’s information.
Workspace offers a fully integrated platform where you can efficiently manage all your daily tasks.
How to navigate about in Workspace
| Moving between fields | tab key or mouse |
| Lookup or searching | F2 or mouse double left click |
| Repeat Client/Matter Ref | F12 to repeat the last client matter reference used |
| Screen options | Right mouse click to display context menu options |
| Field selection | Mouse double left click to select field contents |
| Print Screen | F5 print screen directly to printer |
| Print Screen | F6 print screen to a file |
| Print Grid | Right click column heading select ‘Print Grid’ |
| Export to Excel | Right click column heading select ‘Export to Excel’ |
| Add columns | Right click column heading select ‘Field Chooser’ |
| Remove Columns | Right click column heading select ‘Remove Column’ |
| Save grid configuration | Right click column heading select ‘Save grid settings’ |
The simple mouse click—a fundamental tool you’ll want to master.
The left and right mouse buttons are essential for performing tasks and accessing additional functions throughout LegalOffice.
Left-click: Select or sort the field you click on.
Right-click: Open our context menu.
The left mouse click is straightforward and follows standard Windows conventions.
The right mouse click, however, unlocks additional functionality!
In LegalOffice, right-clicking displays a context menu with functions and programs specific to the screen you’re on. Each screen has its own unique menu, tailored to its purpose. In some cases, there may be multiple menus available, and the menu that appears depends on where you right-click.
The following conventions apply consistently throughout Workspace. Once you’ve mastered them, you’ll know how to navigate Workspace and make it work for you effortlessly!
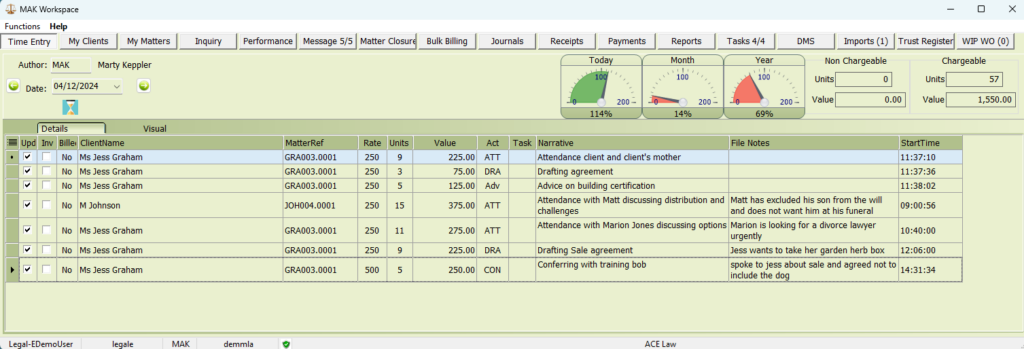
Let’s begin with the Workspace time entry tab as an example:
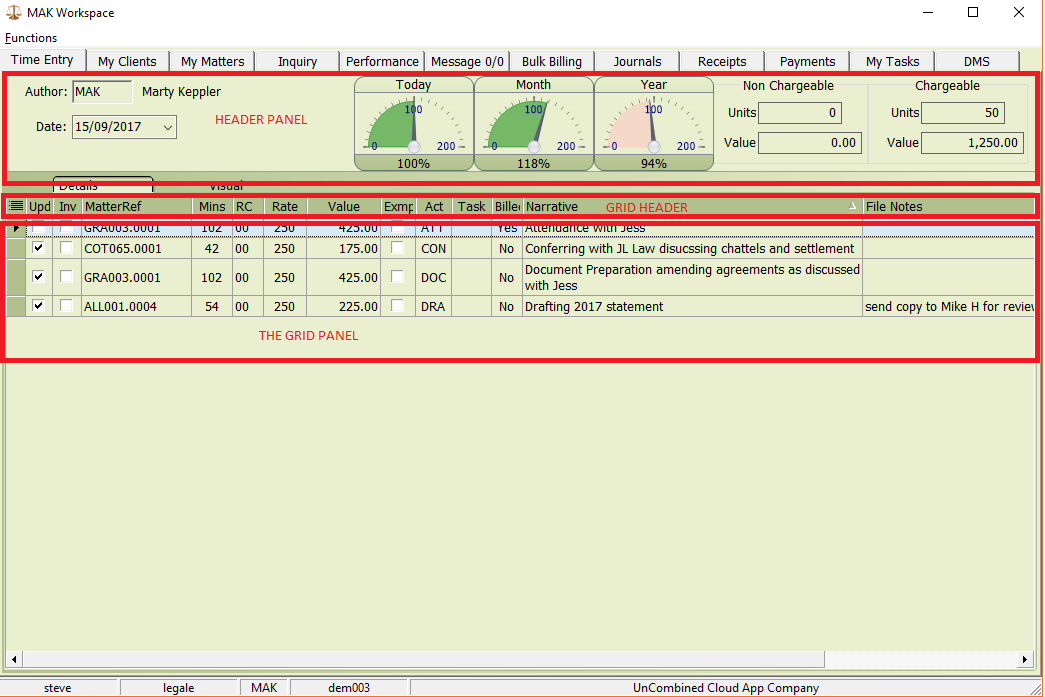
This screen is divided into three distinct sections: the header panel, the grid header, and the grid panel.
The Header Panel
Right-clicking on the header opens a menu with time entry-specific functions. Note that right-clicking is only effective on the header panel, not on fields, graphs, or tables. Ensure you select a clear area within the header panel. Below is an example of the menu that appears when you use the right mouse button:

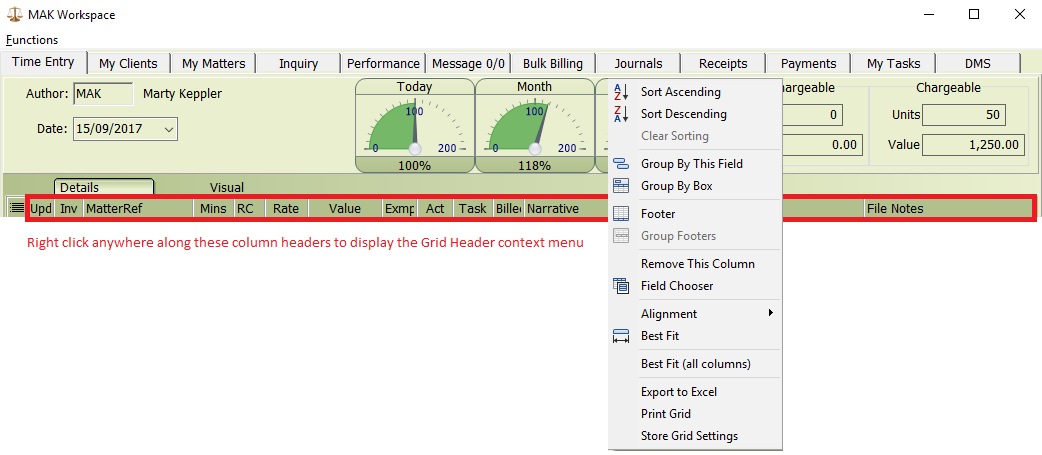
The Grid Header
By right-clicking anywhere on the column headers, you can access a menu containing functions specific to the grid. These menu options are consistent across all grid-based screens. Below is an example of the menu displayed when you use the right mouse button on a column header:
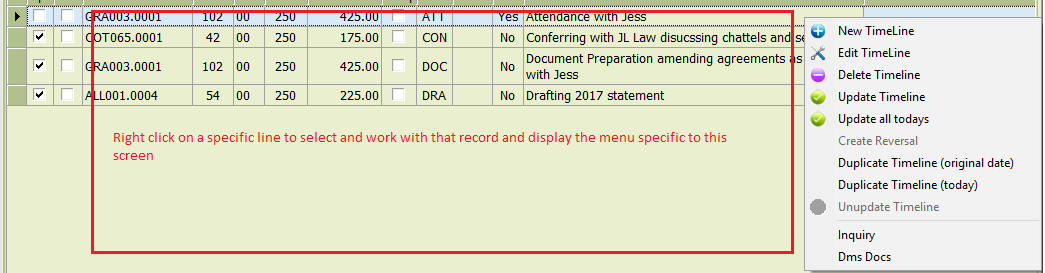
The Grid Panel
The grid serves as the primary area for displaying data. Right-clicking anywhere within this panel opens a menu with options tailored to the current screen. Below is an example of the menu that appears when you use the right mouse button: